How to Clear DNS Cache
The DNS cache stores IP addresses of visited websites on your computer, enabling faster loading on subsequent visits.
If you often encounter a 404 error, clearing the DNS cache can help. For example, if you moved your website to another server and its IP address changed, you need to remove the old IP from the DNS cache to have your browser access the new IP address.
Ways to Clear DNS Cache in Different Operating Systems
Clearing DNS cache in various operating systems is fairly straightforward - you simply need to execute a single command via the command line.
Windows 10
- Open the Start menu and type cmd in the search bar. Right-click Command Prompt (cmd.exe) and run it as administrator.
- In the opened window, type ipconfig/flushdns and press Enter. Done!
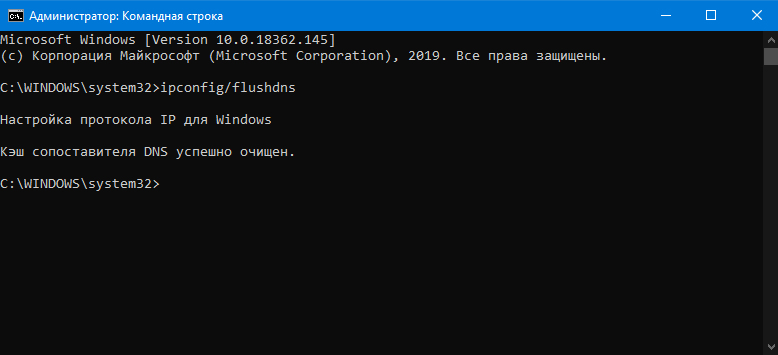
Process of clearing DNS cache in Windows 10 Command Prompt
Ubuntu
- Press the key combination ctrl+alt+T to open the Terminal. You can also find it in the list of applications.
- Enter the command sudo systemd-resolve --flush-caches, then you'll be prompted to enter the administrator password. Done!
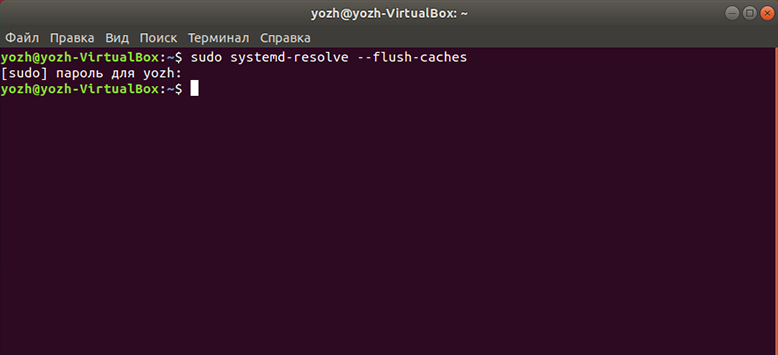
Process of clearing DNS cache via Terminal in Ubuntu
Clearing DNS Cache in macOS 10.14 Mojave
- Click on the search icon in the upper-right corner of the screen and find Terminal through the search.
- In the Terminal, enter the command sudo killall -HUP mDNSResponder; sleep 2;, and provide the administrator password. Done!
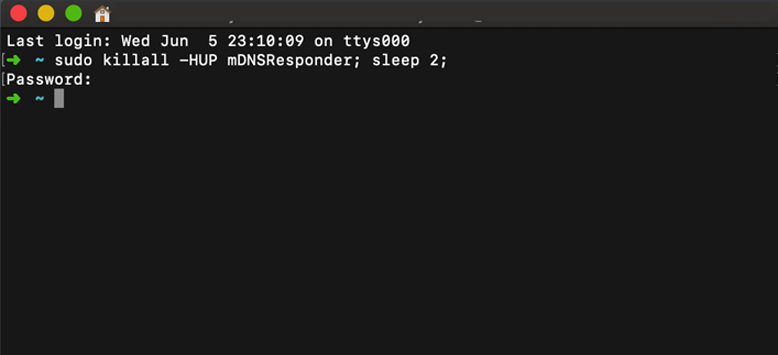
Process of clearing DNS cache via Terminal in macOS
Methods to Clear DNS Cache in Your Browser
Modern browsers also have their DNS clients that cache IP addresses. After clearing the system cache, it's also recommended to clear the DNS cache in your browser.
Google Chrome, Opera, Yandex.Browser, Vivaldi
This method is suitable for browsers based on Chromium.
- In the browser's address bar, type chrome://net-internals/#dns. In the opened window, click the Clear host cache button.
- Then switch to the Sockets tab and click Flush socketpools. Done!
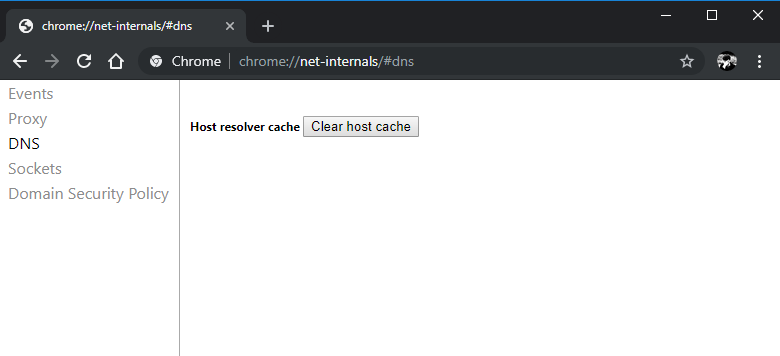
Process of clearing DNS cache in Google Chrome
Clearing DNS Cache in Mozilla Firefox
- Open the browser menu and select Settings.
- Go to the Privacy & Security section and find the option Cookies and Site Data.
- Click the Clear Data button. In the pop-up window, uncheck the box next to Cookies and Site Data, then click Clear.
- Done! You can close the settings window.
![]()
Clearing window in Mozilla Firefox
If this method doesn't work, you can try clearing the DNS cache through the browser's advanced settings window.
- Enter about:config in the address bar and click the Accept the Risk and Continue button.
- In the search field, enter network.dnsCacheExpiration. Change the value to 0, then switch it back to 60 and click OK.
- Next, find the value network.dnsCacheEntries and similarly to the previous step, set it to 0 first, then switch it back to 60, and click OK again.
- Done!
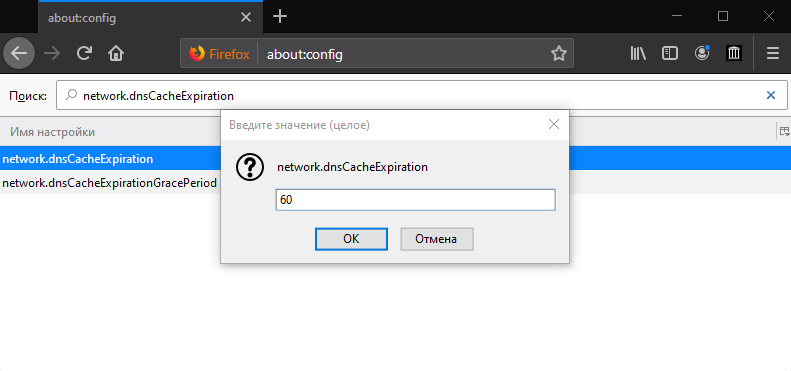
Advanced settings window in Mozilla Firefox

