Creating Backups in Fastpanel
In Fastpanel, you can configure backup with the option to save copies in the following types of storage:
- In a local directory on the server.
- On a remote server (via FTP or SCP).
- In cloud storage like Dropbox or Google Drive.
In our article, we will discuss setting up backup on Google Drive.
Setting up Google Drive Backup
- Log in to the control panel and in the sidebar, go to "Management" -> "Backups." Click the "New Account" button.

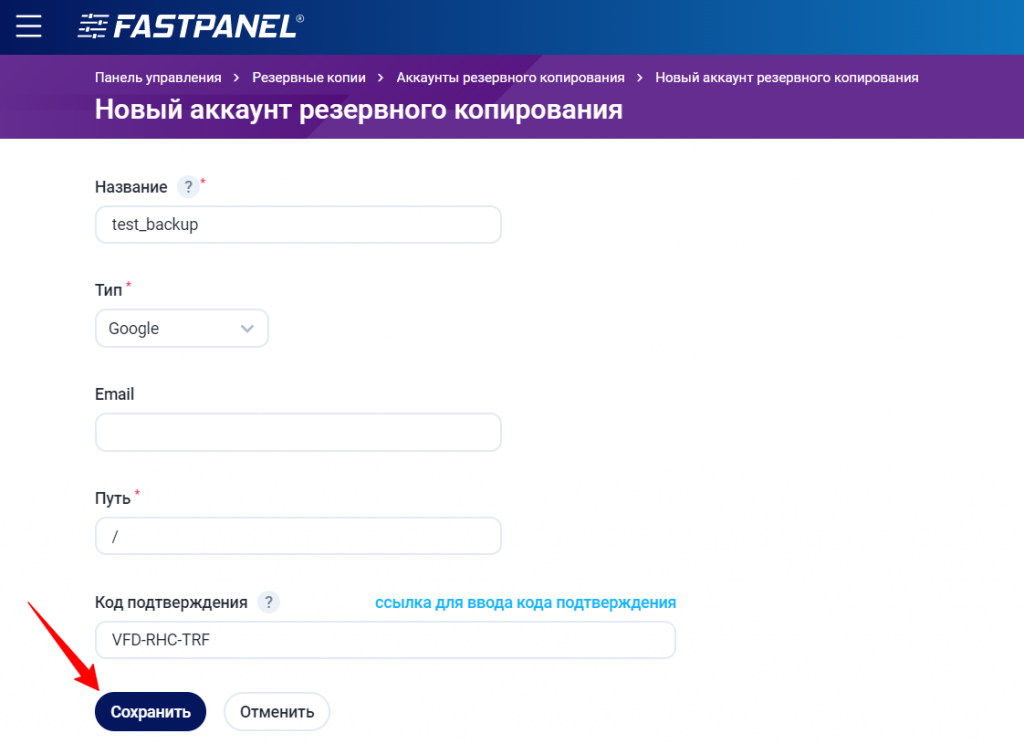
In the popup window, select "Type" -> "Google" and fill in the fields:
- Name — a custom name for the created account.
- Email (optional) — the email to which reports will be sent.
- Path — the directory on Google Drive where backup copies will be saved. You can leave the default value (symbol /) to save backup copies to the root directory of the cloud disk.
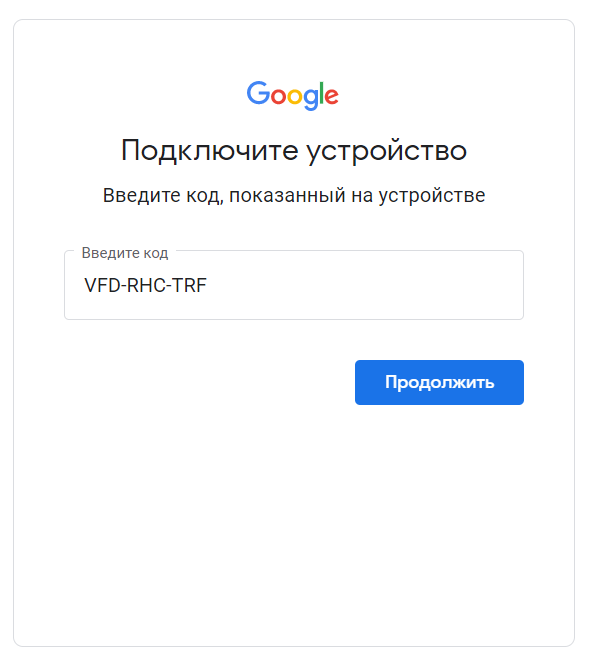
- Copy the confirmation code and follow the link.

- Enter the code and click "Continue."
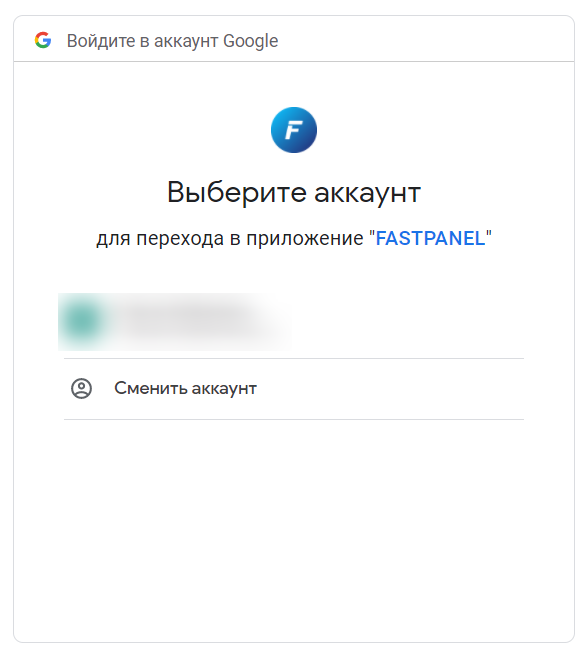
- Select the Google account to which you want to save backup copies.
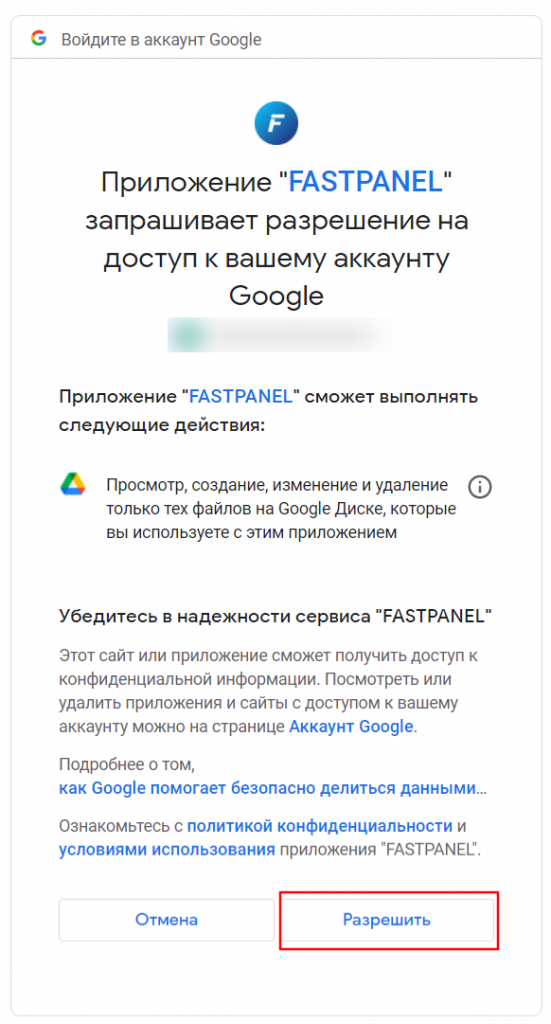
- In the next window, click the "Allow" button.
You will see a message that the device is connected.
- Return to the control panel tab and click "Save."
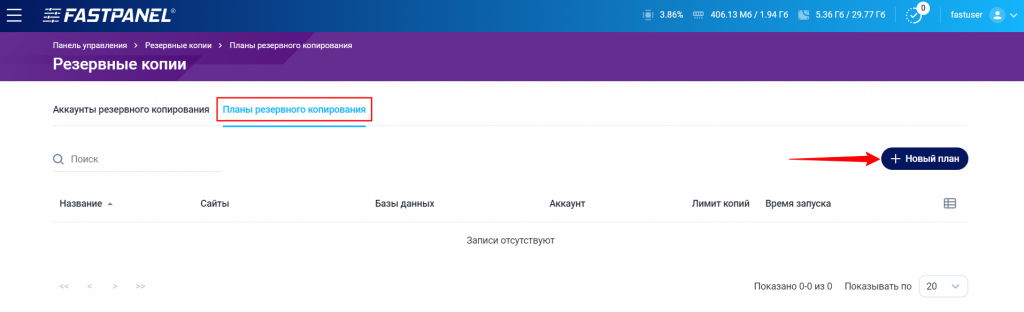
- Now you need to create a backup plan that will be responsible for the actual backup process.
To do this, go to the "Backup Plans" tab and click on the "New Plan" button.
- In the popup window, fill in the following fields:
- Name — a custom name for the created plan.
- Account — choose the account you just created.
- Specify how many copies you want to store.
- Configure the frequency of creating copies.
- Select which websites and databases should be copied from the list.
Take into account the total volume of websites and databases and the available storage space on Google Drive when configuring.
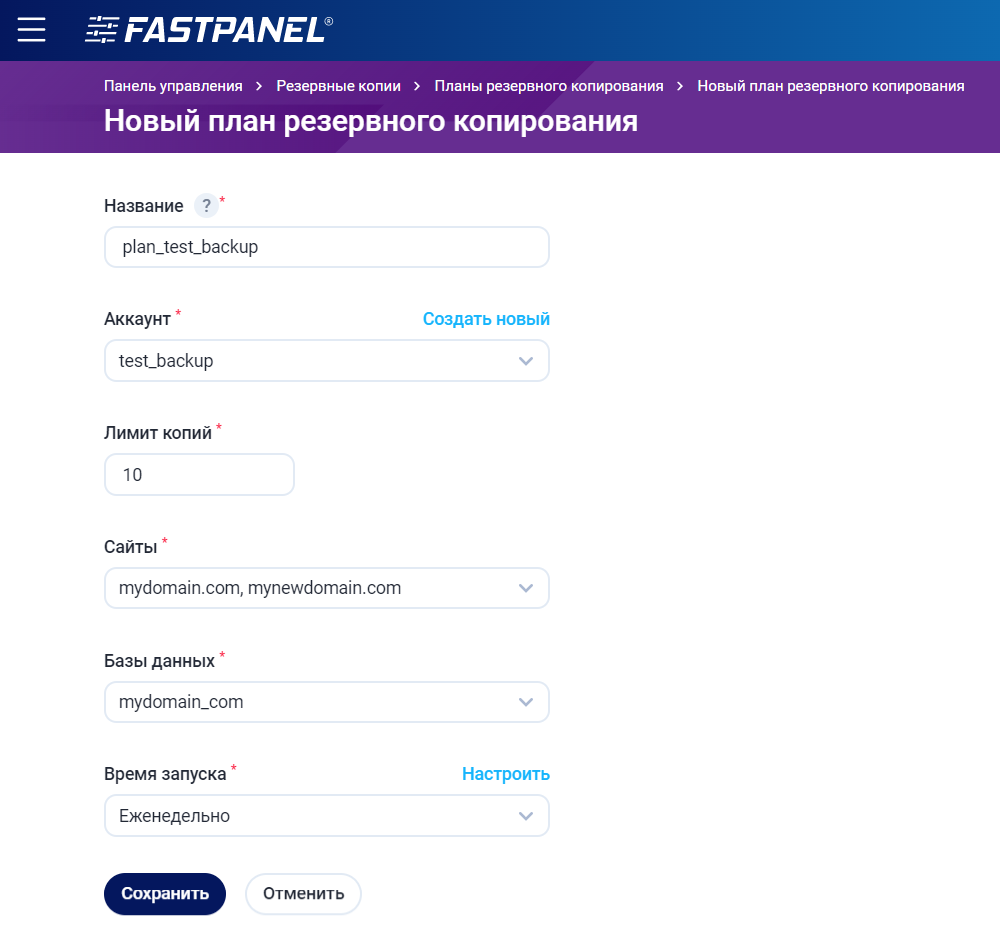
- Click "Save."
Done. Backup copies will begin to be created according to the schedule you set and will be stored in the specified directory on Google Drive.
Managing Backups in the Panel
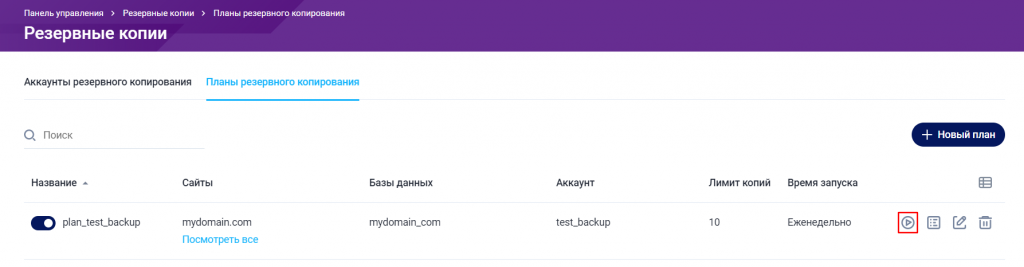
Running Outside the Schedule
You can create copies not only according to a schedule but also at any time when needed. To do this, click on the icon on the "Backup Plans" tab:
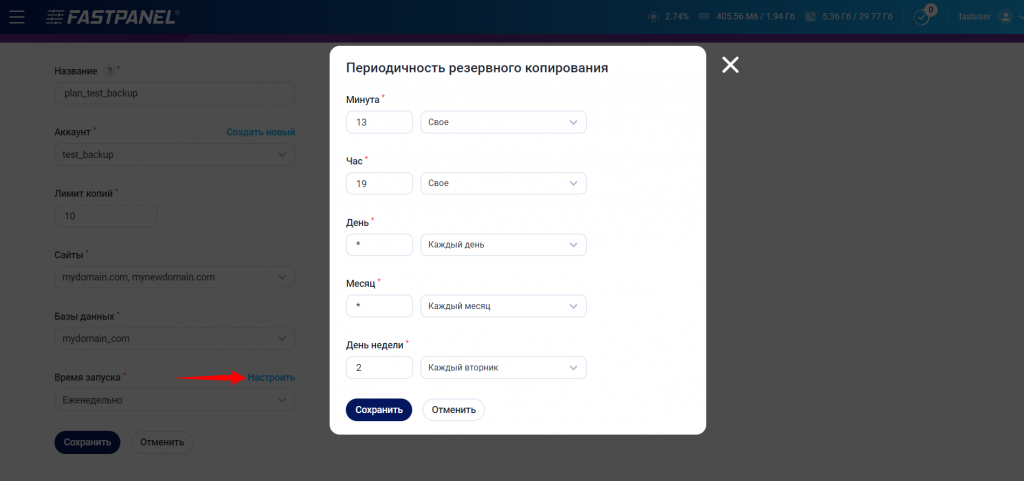
Changing the Schedule
The set backup schedule can be changed at any time. To do so, click on the editing icon on the "Backup Plans" tab:
You can select the start time from the drop-down list or customize it as needed by clicking "Configure."
Viewing Created Copies
To view the list of created copies and, if necessary, initiate data restoration, click on the icon:

Actions with Created Copies
Several options are available for you in the backup list:
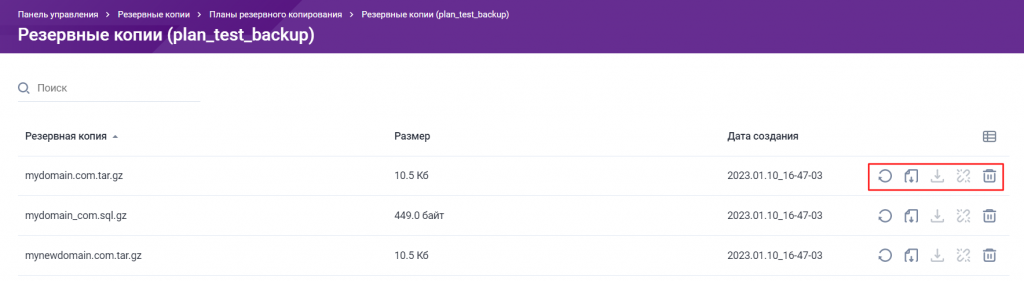
The icons trigger the following actions:
- Initiate data restoration. The panel will request confirmation before restoration.
- Download a copy from storage (in our case, Google Drive).
- Download the uploaded copy to your computer.
- Delete the uploaded copy from the server. Note that the copy in the storage will not be deleted.
- Delete the backup copy from storage. The panel will request confirmation before deletion.

