Email Configuration
Step 1. Adding a DNS Domain
- In your Fastpanel, install the bind9 application by following these steps:
- Go to the "Settings" section and select "Applications".
- Find the "bind9" application in the list and click the install icon.

- After the installation is complete, go to the "Management" section and select "DNS Domains," then click "New Domain".
- Enter the required domain and save the changes.
This module will automatically create all the necessary DNS records for your domain, which will need to be configured for your domain in the future (see Step 3).
Step 2. Adding an Email Domain
- Go to the "Management" section and select "Mail".
- Click "New Domain".
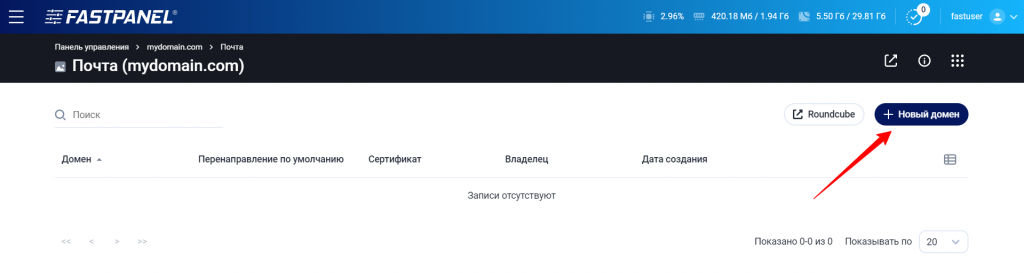
- Enter the domain and save the changes.
Step 3. Configuring DNS for the Domain
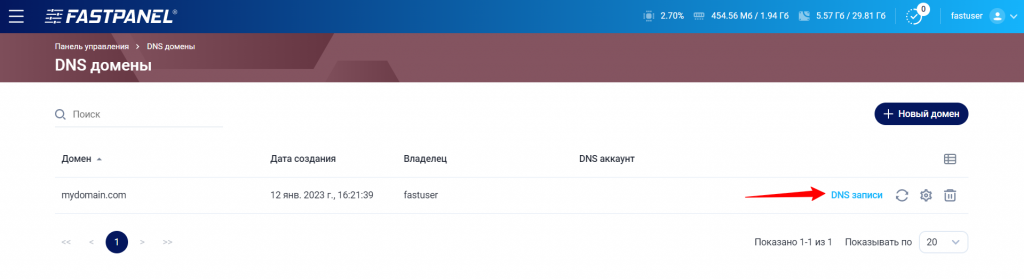
- Go to the "Management" section and select "DNS Domains," then click "DNS Records":
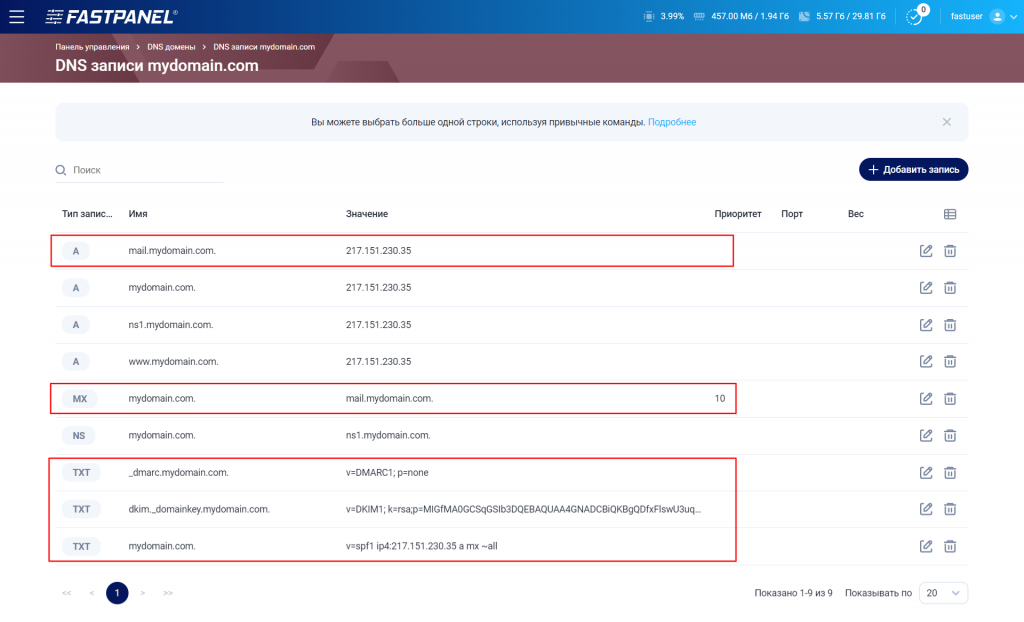
- For a domain registered on another NS server, enter the following DNS records as shown in the screenshot (A, MX, DMARC, DKIM, and SPF) using values from Fastpanel:
If your domain is configured on Timeweb Cloud NS servers, you can set up this configuration in the "Domains" section by selecting the desired domain and going to the "DNS" tab. Additional information on DNS setup is provided in our guides.
In general, this completes the DNS setup, and you can proceed to create mailboxes (Step 5). However, if needed, you can also configure a security certificate (Step 4) to ensure secure email transmission through secure protocols.
Step 4. Configuring an SSL Certificate
If your email domain matches the domain of the website created in Fastpanel, and an SSL certificate has already been issued for it, proceed to step 4.
If your email domain matches the website domain, but you don't have an SSL certificate, follow our guide on setting up a Let's Encrypt SSL certificate and then proceed to step 4.
If you don't have a website with the email domain:
- On the main panel page, select "Create Website" > "Create Website Manually." Enter your email domain and click "Next" > "Create Website".
- Go to "Management" > "SSL Certificates".
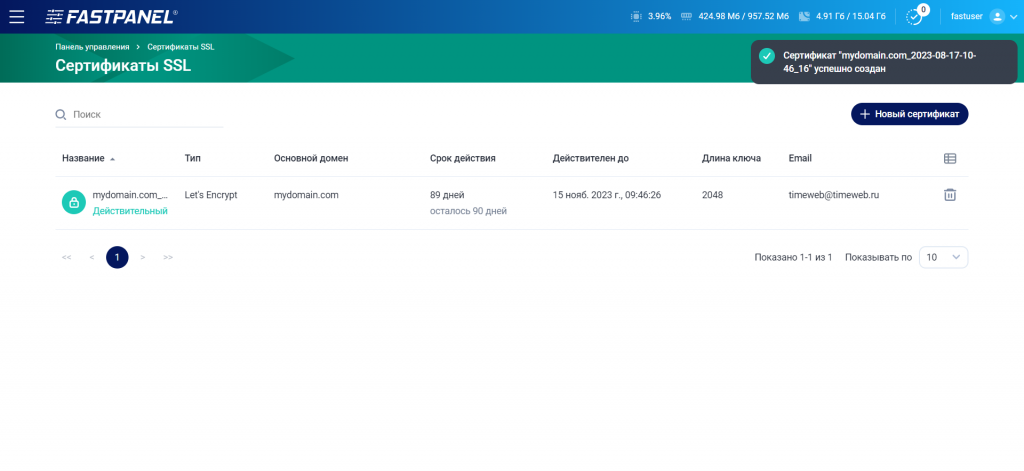
- Click "New Certificate":
- Make sure Let's Encrypt is selected, and choose the "Standard Certificate" tab.
- Select your email domain in the "Website" section and click "Save".

The certificate will be created within 1-2 minutes.
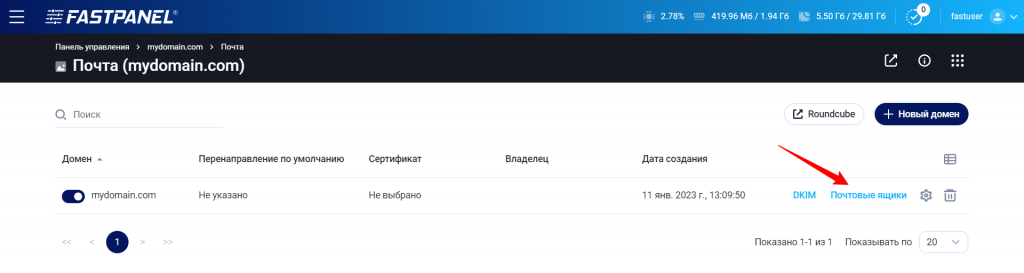
- Go to "Management" > "Mail".
- Click the gear icon next to the email domain.

- In the "Certificate" section, select the created SSL certificate and click "Save".
Step 5. Creating an Email Mailbox
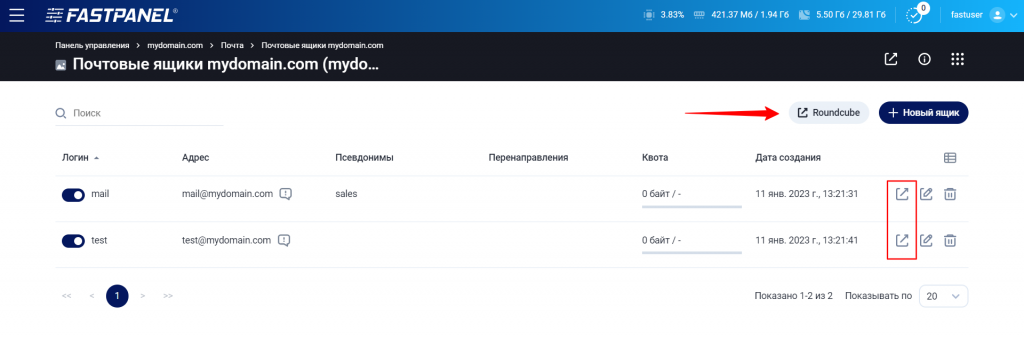
- Go to "Management" > "Mail" and select "Mailboxes".
- Click "New Mailbox".

- Fill in the following fields:
- Login: This is the name used before the @ symbol in the mailbox address. For example, if you enter "admin," your mailbox address will be admin@your_domain.com.
- Password: Set a password for mailbox access according to the specified security requirements.
- Quota: Specify the maximum storage capacity for the mailbox. If you don't want to set a limit, leave this field empty or enter 0.
- Forwarding: Optionally, you can specify email addresses to which emails received in this mailbox should be forwarded. If forwarding is not required, leave this field empty.
- Aliases: Optionally, you can specify additional names associated with this mailbox. For example, if you enter "sales," all emails sent to sales@your_domain.com will be delivered to this mailbox. You can specify multiple aliases, each on a new line, but do not include the @ symbol, only logins.

- Click "Save".
After setup, ensure that email is working correctly.
Remember, on a new server, there may be restrictions on using email ports, which may cause issues with email sending. If you encounter such issues, contact technical support to have the block lifted.
Accessing the Mailbox via Roundcube
To manage your email, you can use the Roundcube web interface.
To access it, use one of the following methods:
- Click on "Roundcube" at the top of the page, above your list of mailboxes.
- Or, for a specific mailbox, click the "Log in to Roundcube" button.
Settings for Email Clients
To configure your email client, you'll need the following details:
1. Your login and password for mailbox access.
2. To set up your email clients, you can obtain additional settings by clicking on the icon next to the mailbox name.
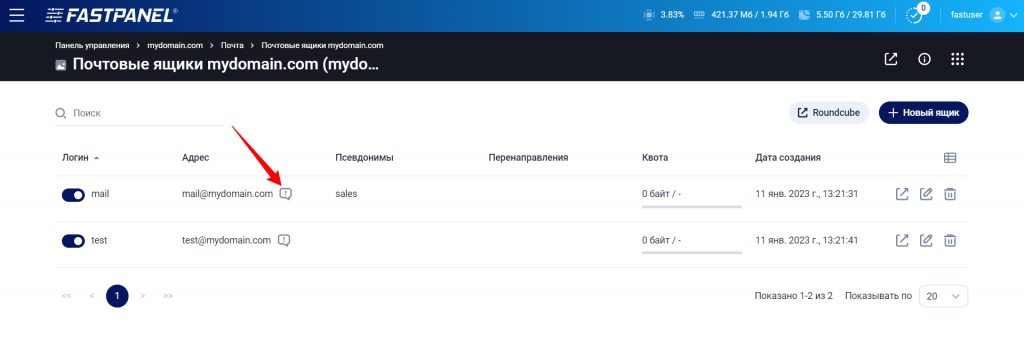
In the window that opens, you'll find the necessary details to configure your email clients.

If you set up an SSL certificate in step 4, you can also use the following secure ports:
- For IMAP — 993
- For SMTP — 465
- For POP3 — 995

