Creating Accounts in VestaCP
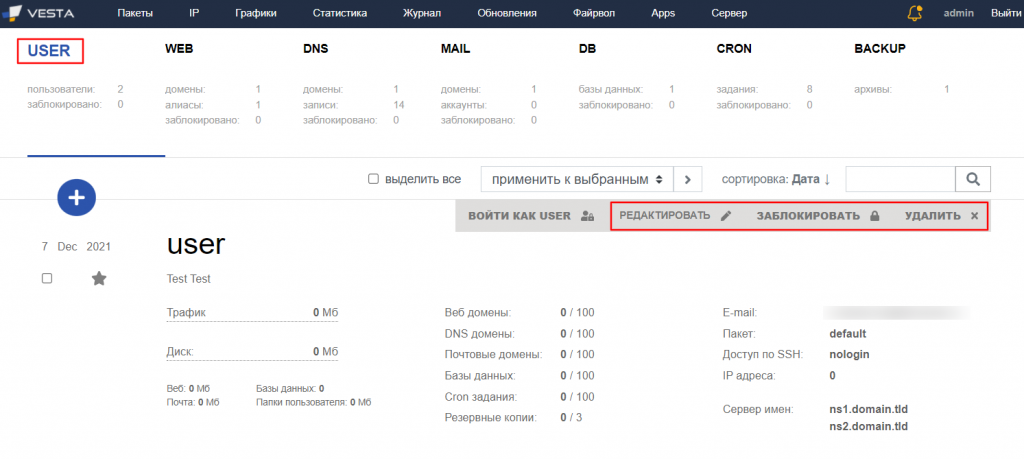
When installing VestaCP, the primary user named admin is automatically created with maximum privileges. Using the admin credentials, you will be able to configure the server and control the control panel, manage installed components, configure the firewall, add IP addresses, and perform other administrative tasks. It's important to note that you should use the admin account, not the root account, as authentication under the root account is disabled in the VestaCP panel. From a security standpoint, consistently using the main account is not recommended. For managing domains and sites on the server, as well as granting access to the server to third parties, it is advisable to create additional users with limited rights. These users will not have access to server settings. To create an additional user, follow these steps:- Go to the USER section.
- Click on the plus icon (the "Add Account" option).
- Fill in all the mandatory fields in the opened form.
- Finish creating the user by clicking the "Add" button.