Setting up BitrixVM Environment and Initial Steps
Describing the first steps to launch the BitrixVM environment.
BitrixVM Installation
- Automatic
You can install Bitrix automatically - when ordering or creating a new server, or when reinstalling the operating system. In this case, when the system starts for the first time, you will be prompted to create a pool immediately.
- Manually
You can also manually install the Bitrix VM environment by following the instructions below.
Installation should be performed only on a "clean" CentOS system of versions 6 or 7.
Connect to the server via SSH and execute the following commands:
wget http://repos.1c-bitrix.ru/yum/bitrix-env.sh
chmod +x bitrix-env.sh
./bitrix-env.sh
Initial Setup
Launch the environment using the following command:
/root/menu.shYou can always access the Bitrix environment management menu by using this command if you exit from it.
- Change root password
On the first boot, the system will prompt you to change the root user's password.
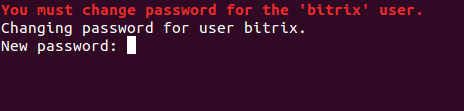
Enter a new password (you can specify the previous one) and press Enter, then re-enter to confirm.
- Create a pool
Next, to further host websites on the server, you need to create a pool.
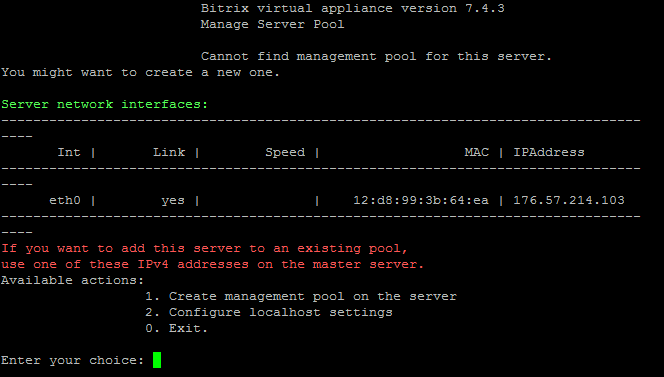
To do this, perform the following actions:
- Enter "1" to select "1. Create management pool on the server".
- Enter the server name (or press Enter to use the default name).
- Then simply press Enter to create the pool.
After this, the Bitrix environment management menu will open.
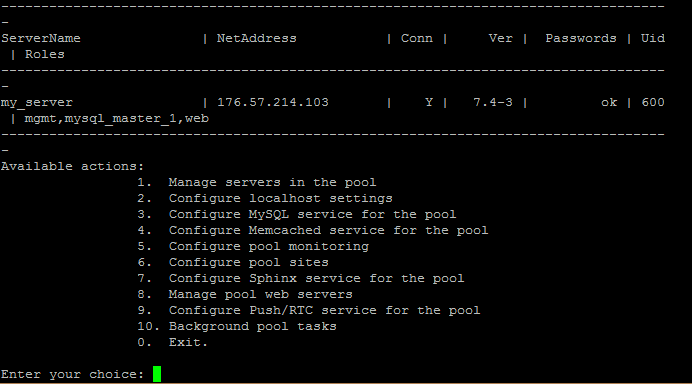
Working with BitrixVM Menu
Management is done by selecting the corresponding options marked with numbers.
To exit the current menu, enter "0".
If you enter "0" while in the main menu, you will exit the BitrixVM system and see the standard SSH command prompt:
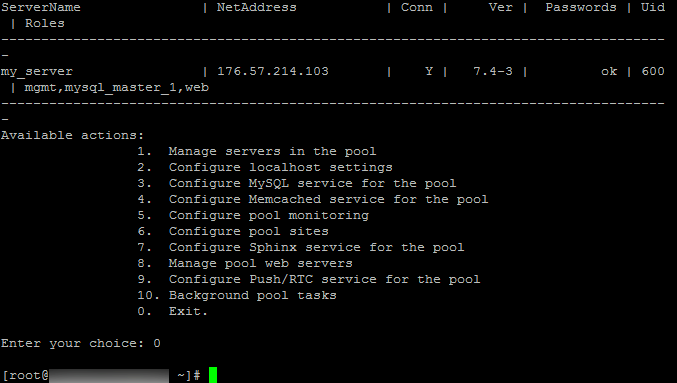
To return to the Bitrix menu, execute the command:
/root/menu.sh
