Setting Up Email in VestaCP
Setting up email on a server with VestaCP: creating an email domain and mailbox, performing the necessary DNS settings for the domain.
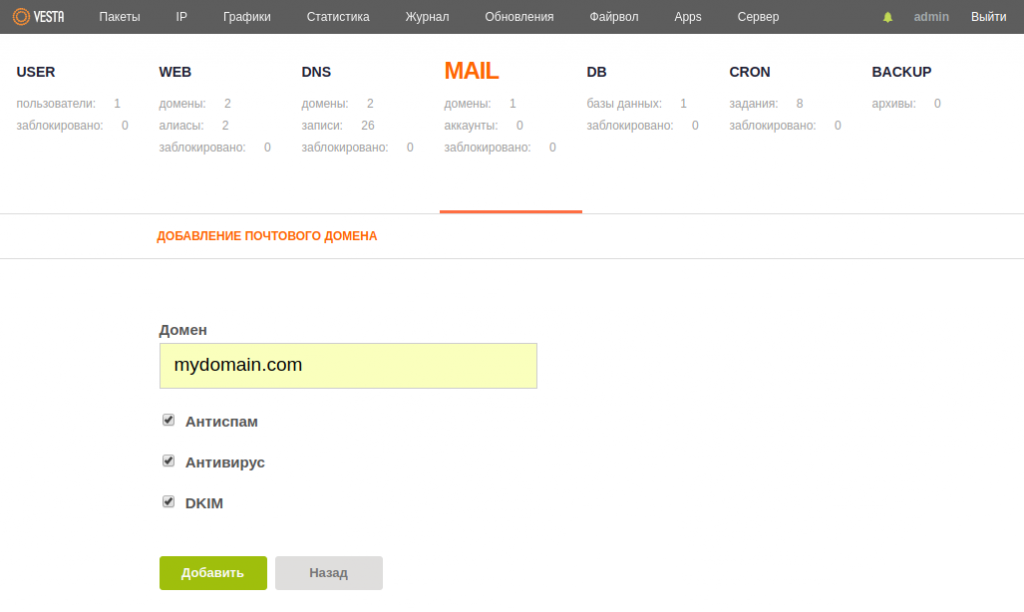
Adding an Email Domain
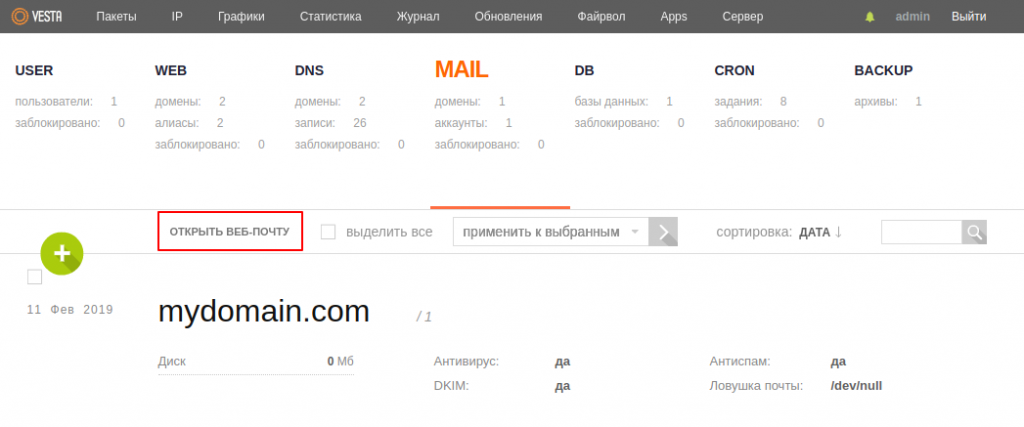
To manage email domains and mailboxes, navigate to the MAIL section.
Here, domains added by you in the WEB section are already present; you can also add a new email domain by clicking the plus icon.
When adding a domain, be sure to check the DKIM option.
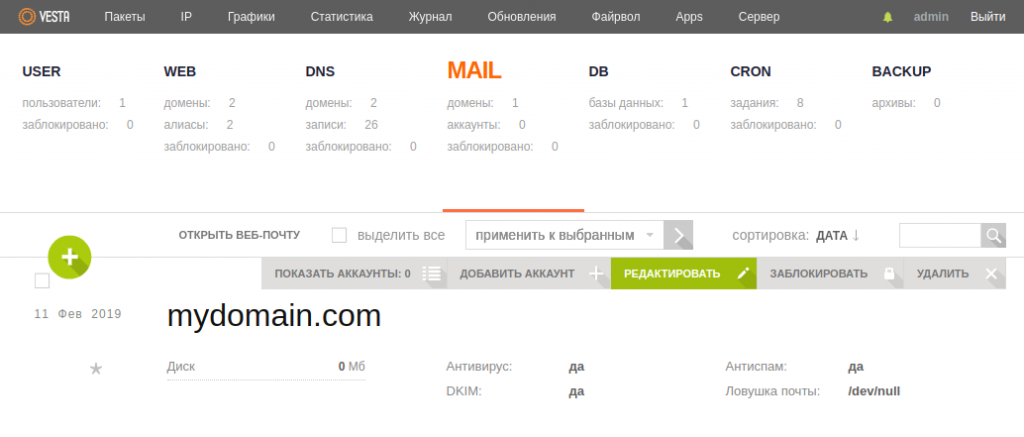
If the domain is already added through WEB, you can click "Edit" to ensure that the DKIM option is enabled.
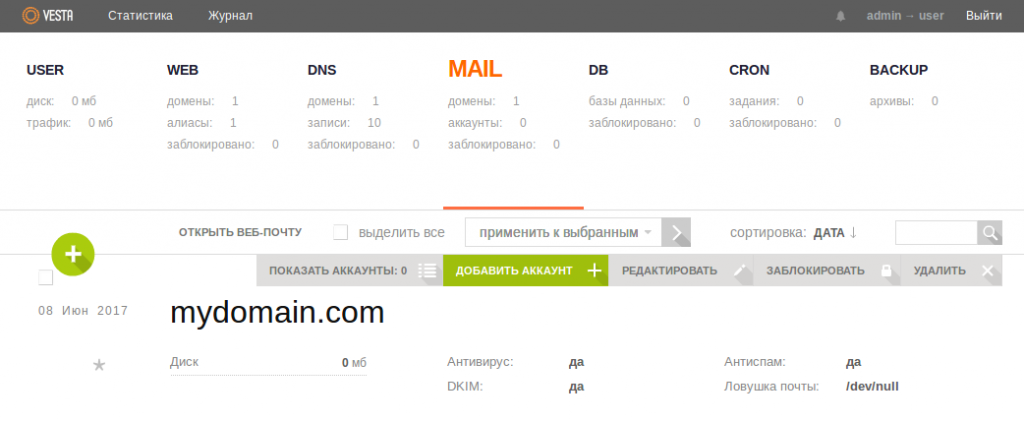
Creating an Email Account
Hover over the field with the necessary domain and click "Add Account."
In the "Account" field, enter the mailbox name (the name that will appear before @; for example, admin, info, support, etc.) and set the password.
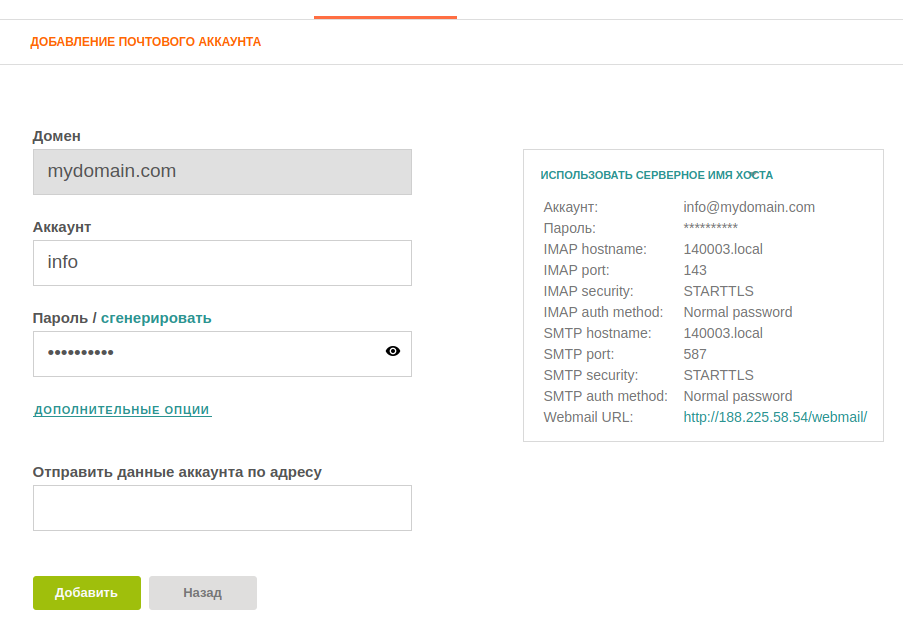
By clicking "Additional Options," you can immediately set the mail quota size, aliases for the mailbox, and mail forwarding.
DNS Settings for the Domain
MX
- In the 1host.kz/bill/ panel, go to the Domains section.
- Click on the gear icon next to the required domain and select the DNS Settings option.
- Create a new MX record or edit the existing one by clicking the pencil icon. Enter your domain as the value, for example:

- Delete any other MX records if they have been created.
SPF
The SPF record specifies the list of servers authorized to send emails on behalf of your domain.
To set up SPF:
- In the 1host.kz/bill/ panel, go to the Domains section.
- Click on the gear icon next to the required domain and select the DNS Settings option.
- If a TXT record with the parameter "v=spf1" already exists, edit it by clicking the pencil icon. If such a record does not exist yet, click "Add DNS Record" in the top right and select "TXT."
- Leave the "Host" field blank in the DNS record settings window. In the "Value" field, enter the following record, replacing 1.1.1.1 with your server's IP address:
v=spf1 ip4:1.1.1.1 a mx ~allDKIM
- Create DKIM via console:
- Connect to the server via SSH and execute the following command in the console:
v-list-mail-domain-dkim USER DOMAINReplace USER with the username under which the domain was added, and DOMAIN with the domain name for which the mail is being created. For example:
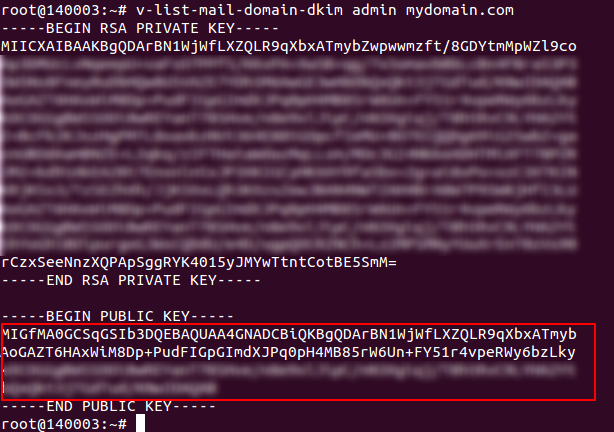
v-list-mail-domain-dkim admin mydomain.comAs a result of the command, both the private key and public key will be displayed.
- Copy the public key - all the text located between BEGIN PUBLIC KEY and END PUBLIC KEY:
- Set up DKIM for the domain:
- In the 1host.kz/bill/ panel, go to the Domains section.
- Click on the gear icon next to your domain and select the DNS Settings option.
- If a TXT record with the parameter "v=DKIM1" already exists, edit it by clicking the pencil icon. If such a record does not exist yet, click "Add DNS Record" in the top right and select "TXT".
- In the DNS record settings window, leave the "Host" field blank. In the "Value" field, insert the following DKIM record:
For instance:
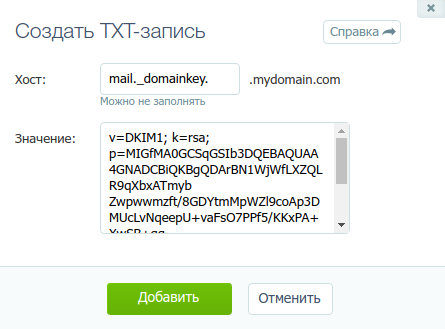
v=DKIM1; k=rsa; p=copied_public_key_contentDMARC
- In the 1host.kz/bill/ panel, go to the Domains section.
- Click on the gear icon next to your domain and select the DNS Settings option.
- If a TXT record with the parameter "v=DMARC1" already exists, edit it by clicking the pencil icon. If such a record does not exist yet, click "Add DNS Record" in the top right and select "TXT".
- In the DNS record settings window, in the "Host" field, specify _dmarc. In the "Value" field, insert the following DMARC record:
v=DMARC1; p=none; aspf=r; sp=nonePTR
- In the VestaCP, go to the Server section and click on "Configure" (gear icon).
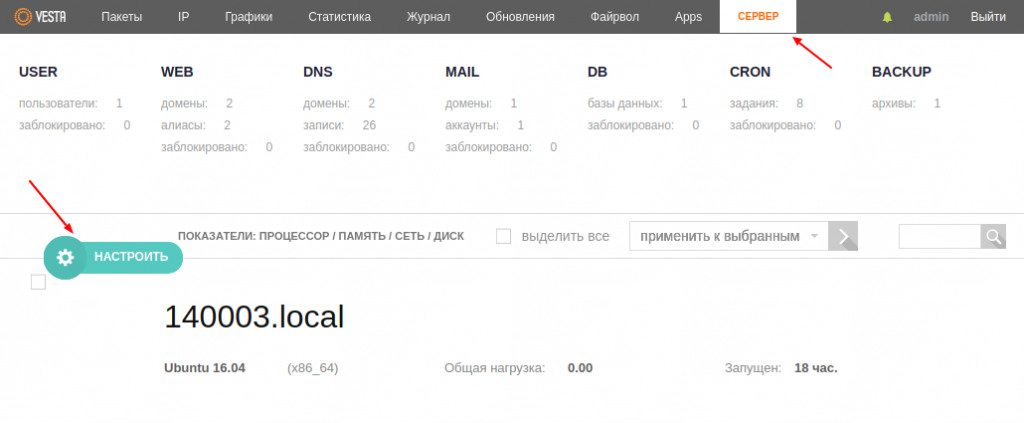
- In the Hostname field, specify your domain. This name will represent your mail service when sending emails.
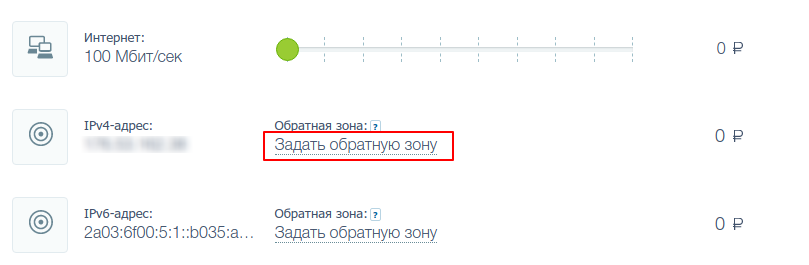
- In the 1host.kz/bill/ panel, go to the Configuration tab.
- In the "IPv4 address" field, click "Set reverse zone" and specify your domain there as well.
Email Client
The web interface Roundcube is used for working with emails in VestaCP. To access it, follow the link Open Webmail located above the list of mail domains.
To log in to Roundcube, use the name of the created mailbox and its corresponding password.
Possible Errors
If you encounter an error when sending emails via Roundcube: Access denied - Invalid HELO name (See RFC2821 4.1.3), you'll need to make changes to the file /etc/roundcube/defaults.inc.php.
Open the file in an editor and find the following line:
$config['smtp_helo_host'] = '';Replace it with:
$config['smtp_helo_host'] = 'localhost';Additional Settings
VestaCP also provides the option to set up "Mail Catch-All". This function allows you to collect emails sent to non-existing addresses on your domain and forward them to the email address you specify. To set up the "Catch-All", select the respective domain in the MAIL section, then click on "Edit" and specify the mailbox name.

