Creating Accounts in ISPConfig
Based on default settings, the control panel already includes a basic user named admin, who has full access to all features.
For security reasons, similar to working as root on the server, it's not recommended to use this account for managing websites. Instead, it's advisable to create an additional user with limited permissions so they can manage only website settings and do not have access to server configurations.
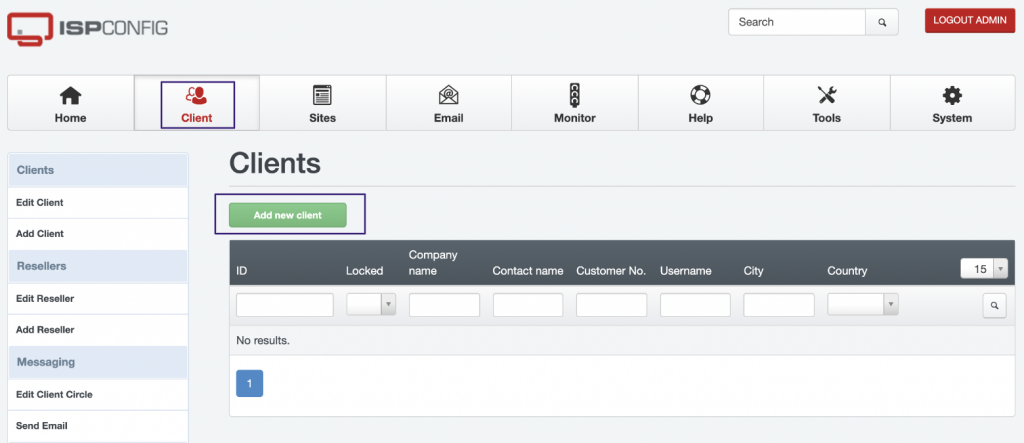
To create such a user, navigate to the Clients section and select Add new client.
Fill in the fields on the Address tab, including name (Contact name), username (Username), password, and email. You can also fill in other additional fields or leave them at their default values.

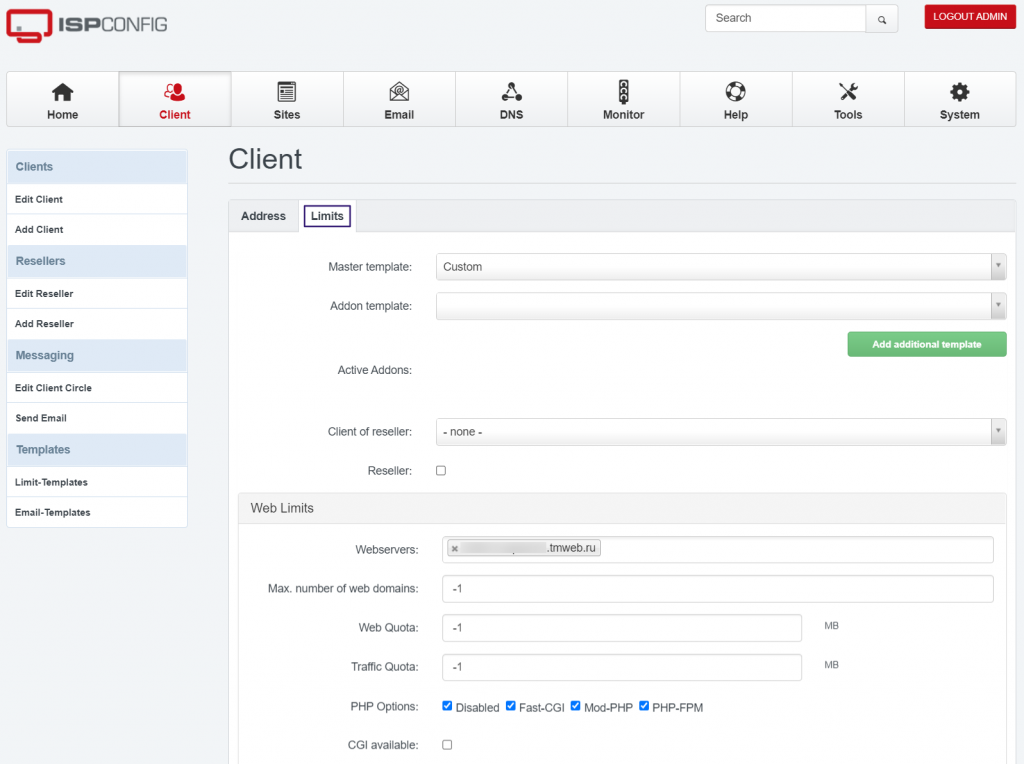
Go to the Limits tab. Here, you can set restrictions and access rights to various functions in the control panel.
In the Web Limits section, it's recommended to enable SSL support by selecting SSL available and Let's Encrypt available. You can leave the other parameters at their default values, and adjust them later as needed.
When parameters such as maximum number of web domains (Max. number of web domains), web quota (Web Quota), and others are set to -1, it means there are no restrictions for that particular parameter.
To configure user access to perform Cron jobs, expand the Cron Job Limits section below on this page. It's recommended to set -1 in the Max. number of cron jobs field and choose Full Cron type to remove limitations on Cron usage and allow the user to create cron jobs.
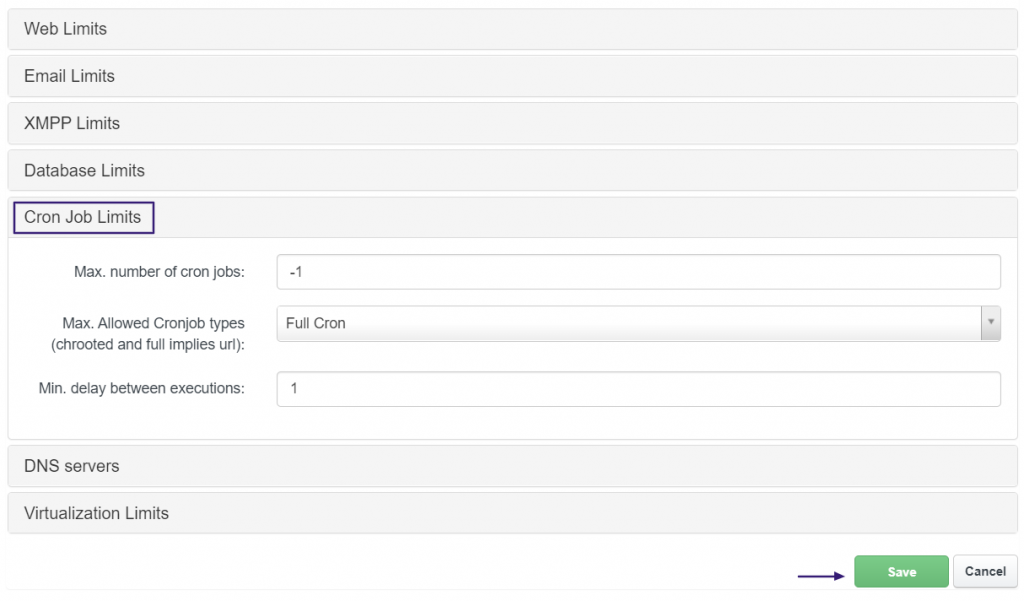
After configuring all settings, don't forget to click the Save button.
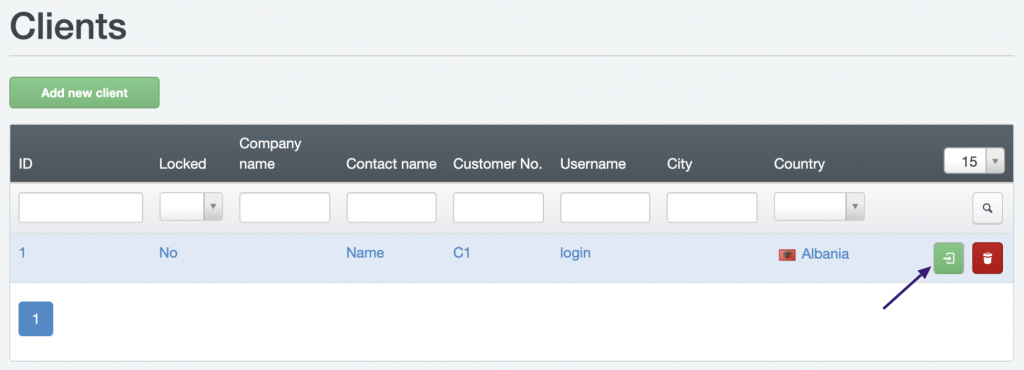
To log in to the panel as the newly created user, select them from the Client section, and then click the green "Login" icon. On the following page, confirm by clicking "Yes, login as client."