Installation of a Secure SSL Certificate in ISPConfig
Let's explore the process of issuing and installing a Let's Encrypt SSL certificate, as well as installing an existing certificate.
Issuing and Installing a Let's Encrypt Certificate
To install a free Let's Encrypt SSL certificate, follow these steps:
- Log in to the control panel and go to the Sites section.
- Select the website you want to configure.
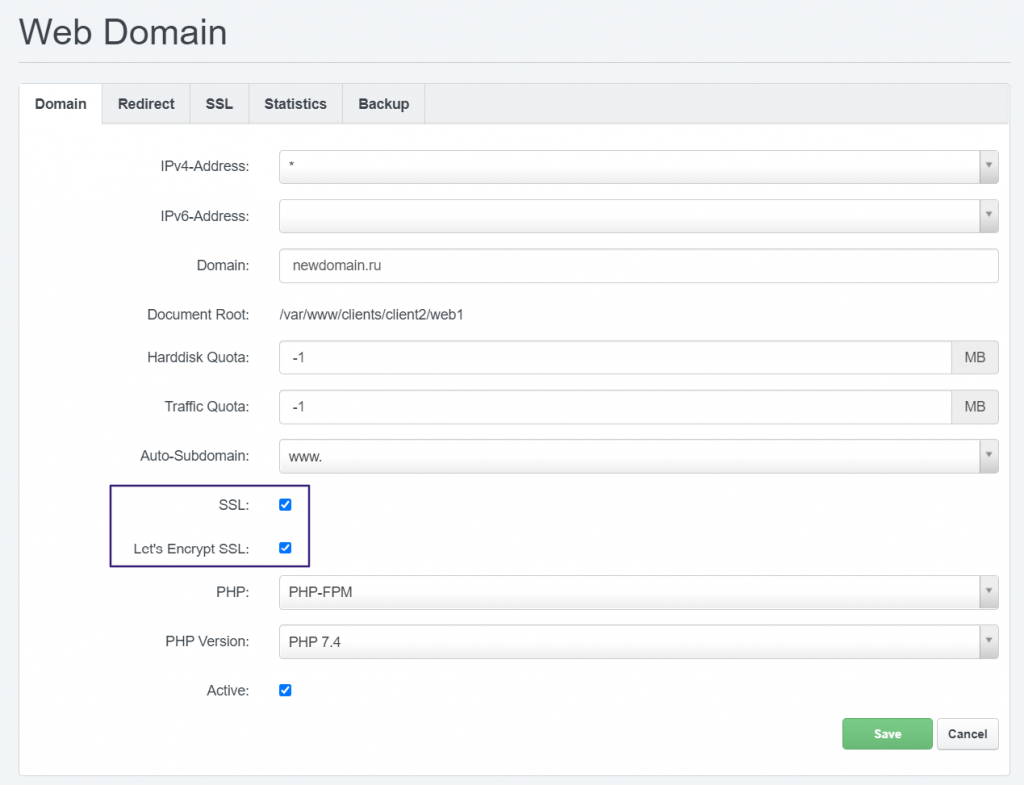
- On the Domain tab, enable the SSL and Let’s Encrypt SSL options.
- Save your changes by clicking the Save button.
The Let's Encrypt certificate will be automatically issued and installed.
Installing an Existing Certificate
If you already have an SSL certificate for your domain, you can install it by following the instructions below.
- Log in to the control panel and navigate to the Sites section.
- Select the website you want, and go to the SSL tab.
- Fill out the form as follows:
— You can leave the State, Locality, Organization, and Organization Unit fields empty or fill them with arbitrary data.
— In the SSL Key field, paste the contents of the private key.
— In the SSL Certificate field, paste the certificate's contents.
— In the SSL Bundle field, paste the certificate chain used to sign this certificate. Typically, these certificate chains are supplied by the certificate authority in a .ca-bundle file.
— In the SSL Action field, select Save certificate. - Click Save.
Enabling HTTPS Redirect
After installing the certificate, enable the redirect from HTTP to HTTPS for your domain.
To do this, go to the Redirect tab in the Sites section and check the Rewrite HTTP to HTTPS option, then save the changes you made.


