Setting up email in ISPConfig
Here, we will provide you with instructions on setting up email on your server using the ISPConfig control panel. We will create an email domain, configure an email mailbox, and perform the necessary DNS settings.
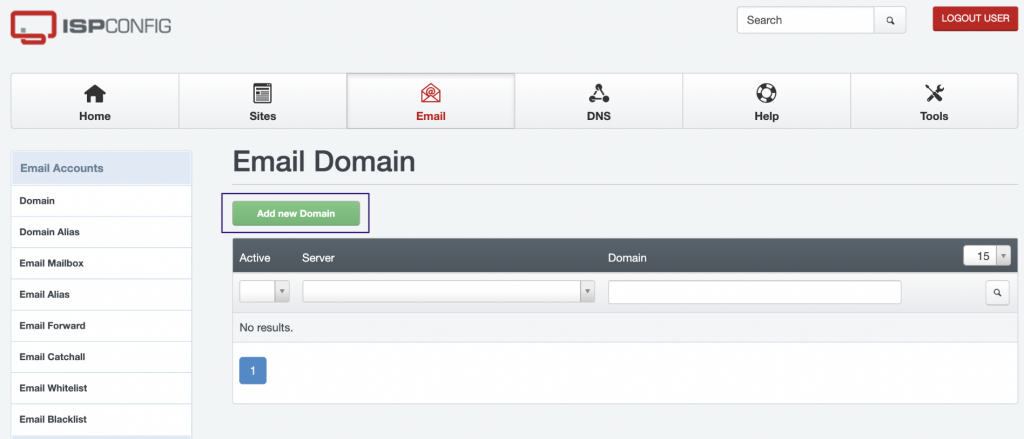
Adding an Email Domain
To get started with email, you need to create an email domain.
To do this, go to the Email section and select Add new Domain.
On the next page, enter the domain name and select DomainKeys Identified Mail (DKIM) to automatically create a DKIM signature.
Check the Enable DKIM box and click Generate DKIM Private-key. This will create and activate a DKIM signature for this email domain.
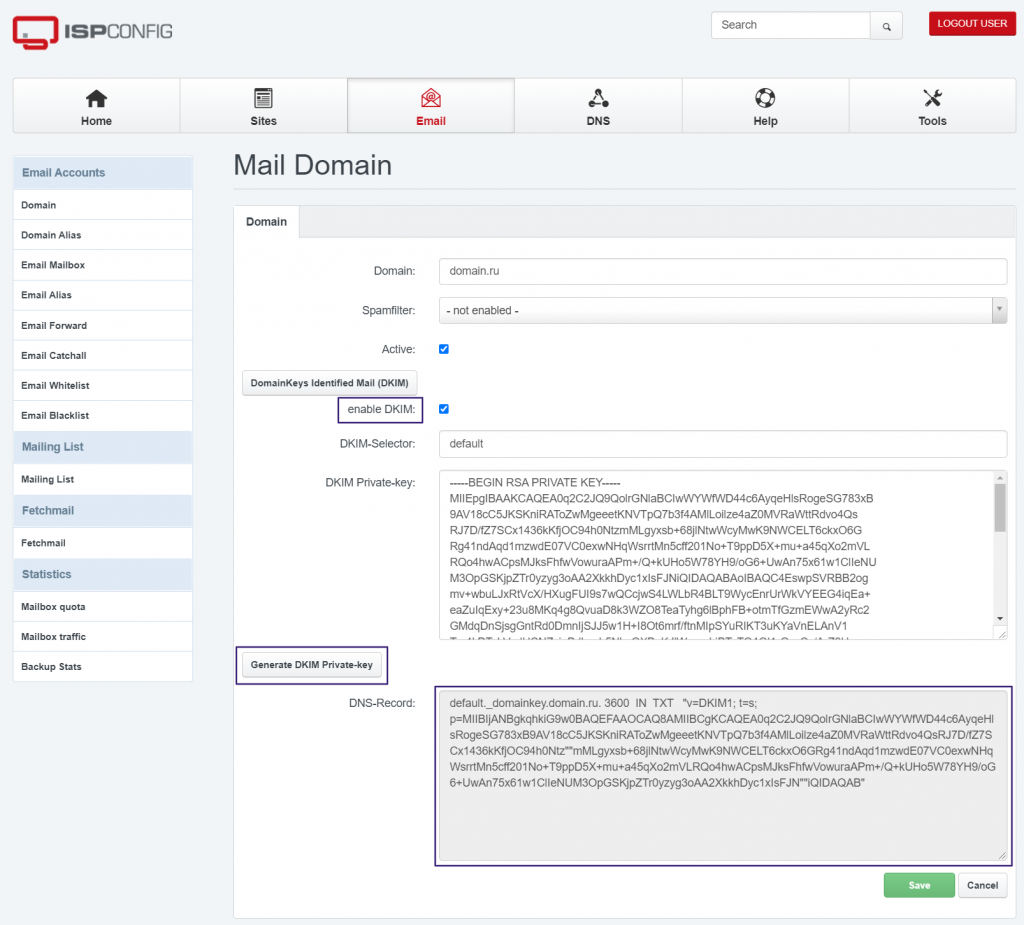
Copy and save the entry from the DNS-record field for later use in your domain settings.
Click Save, and the email domain is successfully created.
Creating an Email Mailbox
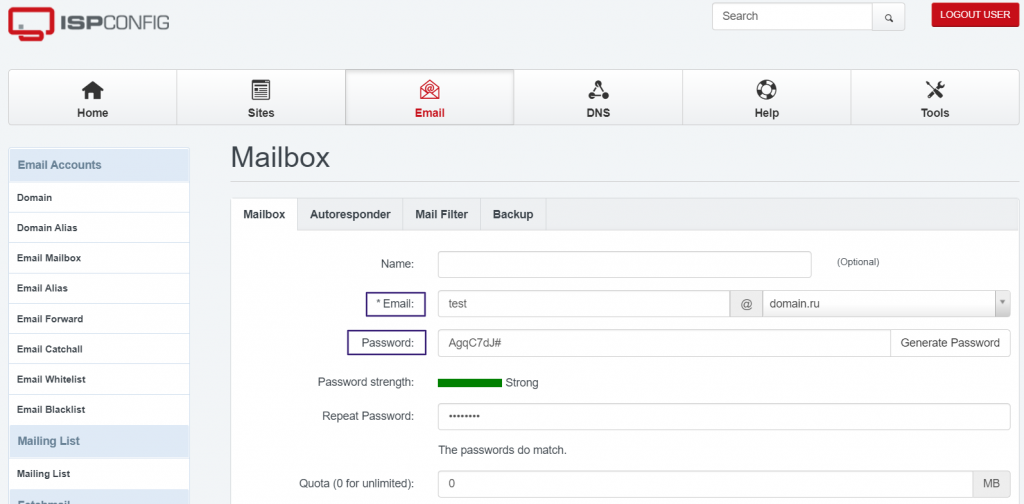
To create an email mailbox, go to the Email section -> Email Mailbox and select Add new Mailbox.

On the opened page, fill in the Email (the name of the mailbox that will be placed before the @ symbol) and Password fields.
You can leave the remaining fields empty or fill them in as needed. The Name field is for the user's name, and the Quota field allows you to set mailbox size limits. You can also specify email addresses for receiving copies of incoming and outgoing emails, configure the spam filter, disable email sending from this mailbox, disable local delivery, disable the POP3 and IMAP protocols for this mailbox, and enable greylisting.
After configuring the necessary settings, click Save.
Configuring DNS Records for Your Domain
After successfully creating an email domain and mailbox, you need to carefully configure DNS records for your domain: MX, SPF, and DKIM.
MX
- Go to 1host.kz/bill/ and select the Domains section.
- Click the gear icon next to the corresponding domain and choose DNS Settings.
- Create a new MX record or edit an existing one by clicking the pencil icon. In the "Value" field, specify your domain, for example:
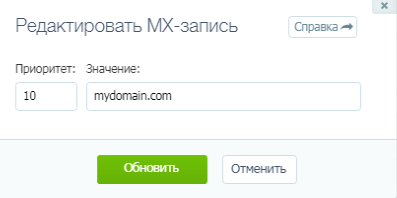
- If there are other MX records, you should remove them.
SPF
An SPF record contains a list of servers authorized to send emails on behalf of your domain.
To correctly configure SPF, follow these steps:
- On the 1host.kz/bill/ website, go to the Domains section.
- Click the gear icon next to the relevant domain and select DNS Settings.
- If there is already a TXT record with the "v=spf1" parameter, you need to edit it by clicking the pencil icon. If such a record does not exist, click "Add DNS Record" at the top of the page and select "TXT".
- Leave the "Host" field empty. In the "Value" field, enter the following record, replacing 1.1.1.1 with your server's IP address:
v=spf1 ip4:1.1.1.1 a mx ~all- Save the changes.
DKIM
- DKIM has already been added to ISPConfig following this guide. If not, go to the Email -> Domain section in ISPConfig, select the relevant domain for configuration, and add DKIM.
Copy the content of the "DNS-record" field.
- Add the DKIM record to your domain:
- Log in to the control panel at 1host.kz/bill/.
- Go to the Domains section.
- Click the gear icon next to your domain and select DNS Settings.
- If there is already a TXT record with the "v=DKIM1" parameter, edit it by clicking the pencil icon. If such a record does not exist, click "Add DNS Record" at the top of the page and select "TXT".
- In the DNS record settings window, enter "dkim._domainkey" in the "Host" field. In the "Value" field, paste the DKIM record copied from the "DNS-record" field in ISPConfig.
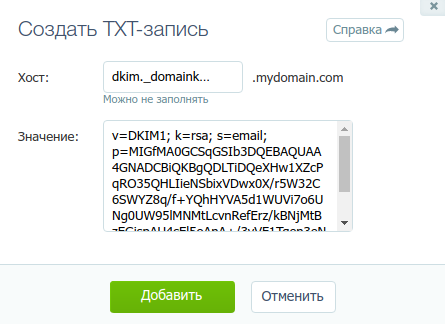
Save the changes.
DMARC
- Log in to the control panel at 1host.kz/bill/.
- Go to the Domains section.
- Click the gear icon next to your domain and select DNS Settings.
- If there is already a TXT record with the "v=DMARC1" parameter, edit it by clicking the pencil icon. If such a record does not exist, click "Add DNS Record" at the top of the page and select "TXT".
- In the DNS record settings window, enter "_dmarc" in the "Host" field. In the "Value" field, paste the following DMARC record:
v=DMARC1; p=none; aspf=r; sp=nonePTR
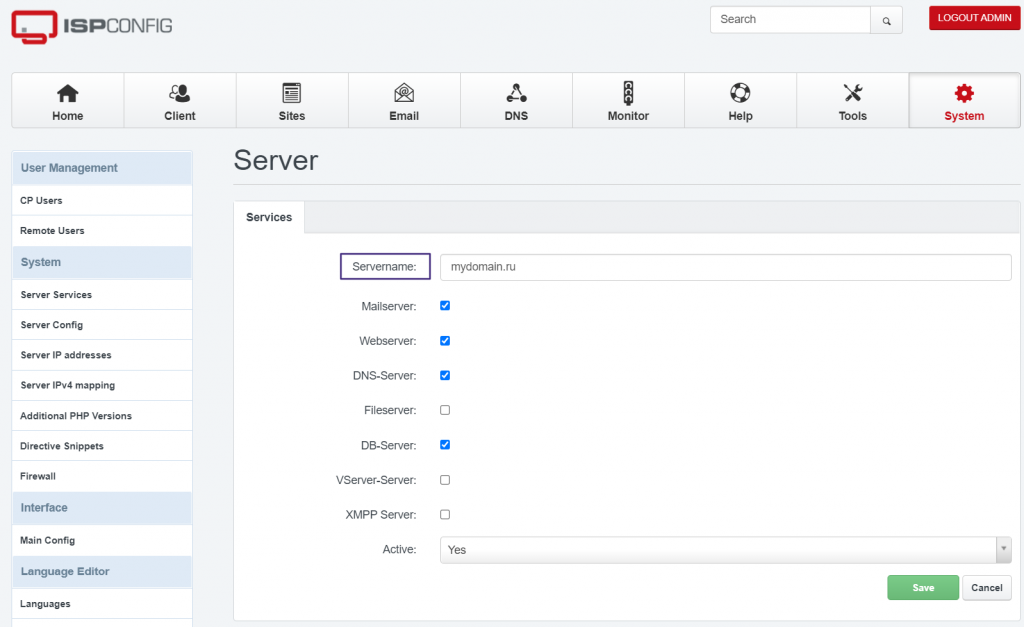
- In the ISPConfig control panel, log in using the "admin" account and go to the System section. Select your server's name.
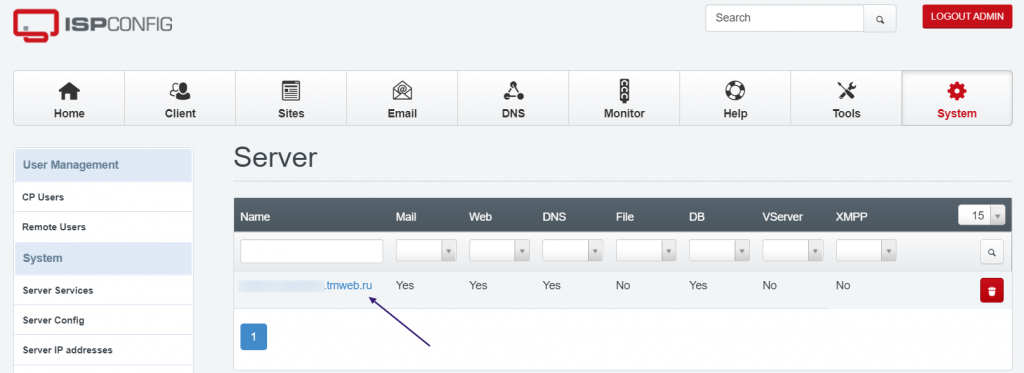
- In the "Servername" field, specify your domain and save it. This name will be used when sending your email.
- Go to the "Configuration" tab at 1host.kz/bill/.
- In the "IPv4 Address" field, click on the server name and specify your domain.

Email Client
ISPConfig uses the SquirrelMail web interface for email management.
You can access it by following this link: https://IP_server_address:8081/squirrelmail/ or by clicking on the envelope icon in the Email -> Email Mailbox section.

Log in using your email account's username and password.

