Getting Started: Initial ISP Configuration
Before installing ISPmanager, you can see how the panel works with the help of a demo version on the ISP website.
Installing ISP and License Payment
- Automatically
ISPmanager control panel can be installed automatically when ordering/creating a new VDS or when reinstalling the operating system. ISPmanager is installed on Ubuntu, Debian, and CentOS operating systems.
- Install the server with the required edition of ISPmanager.
- Go to the "Licenses" section and click "Pay" for the required license. The license will already be attached to the desired server.
- Make a payment (from your account balance or a separate account) and wait for an email with the activation key.
Now you can go to the panel's address, log in, and activate the license.
- Manually
You can also manually install the panel using our instructions. After installing ISPmanager, go to the "Licenses" section, order a license for the required version, specifying your server's IP address, and pay for it. The activation key will be sent to your email.
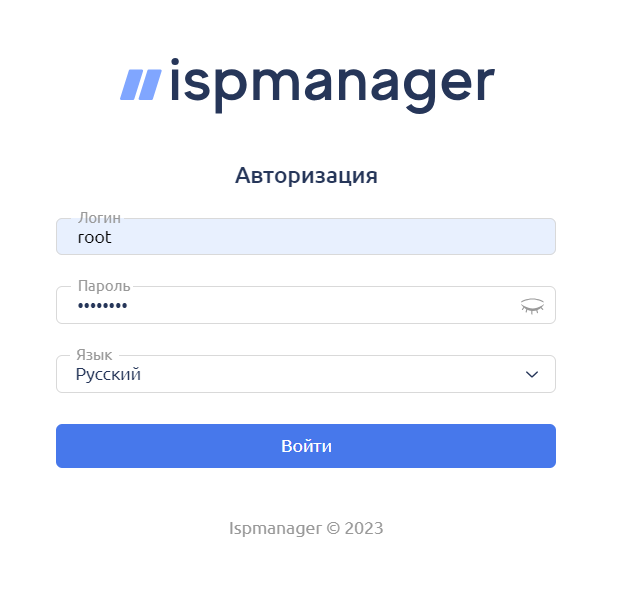
Logging into the Panel
After a successful ISPmanager installation, you can access the panel at the following address: https://IP_server_address:1500/ispmgr.
- When you first visit the license address, you will see a warning about an insecure connection. This happens because of the use of a secure protocol for which the certificate has not yet been confirmed by the certification authority.
To continue working, open additional information (buttons "Advanced," "Advanced," etc.) and then, depending on the browser you are using, you can either go directly to the panel or confirm the security exception.
- In the login form, enter the access data to your server, which were sent to you in the OS installation email. This data includes the username root and the password.
- At the next step, you will need to accept the terms of the license agreement, after which you can proceed to the initial system setup.
- Inside the panel, go to any section and select "Refresh License Data" to activate it.
Configuration After Installation
At the initial stage of starting work with ISPmanager, you need to perform basic configuration. In the future, if necessary, you can make changes through the "Settings" - "System Settings" section.

- Server Name - specify the full domain name (you can use your website's name).
- Time Zone - select "Local Time."
- Region/Location - specify your current location for the correct display of time.
We also recommend enabling automatic system updates to keep the panel up to date.
ISPmanager on CentOS
If you are using ISPmanager on a server with the CentOS operating system, you need to switch the Apache web server's operating mode to ensure the panel works correctly.
To perform this operation:
- Open the "Settings" - "Software Configuration" section.
- Select "Web Server (WWW)" from the list and click "Edit":

- In the opened settings window, check the box next to "Apache MPM-ITK".

- Save the changes you've made.

