Hosting a Website in VestaCP
To host your website on the server, follow these steps. We recommend performing these actions under the additional user.
Domain
- On your domain registrar's side, set the IP address of your server as an A-record for your domain.
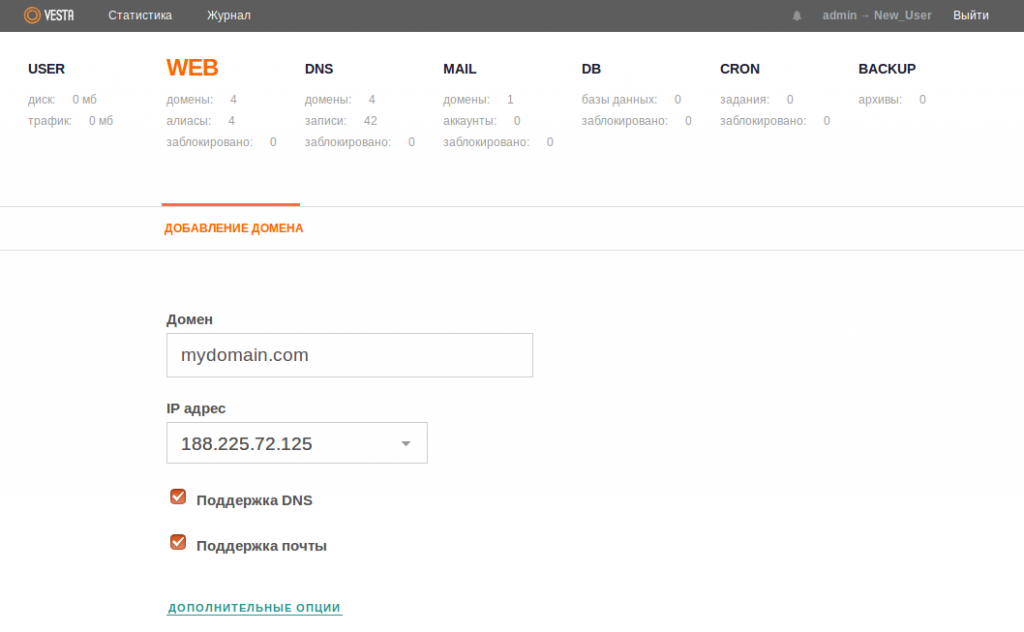
- Add your domain to the VestaCP panel. To do this, go to the WEB section and click the "+" icon (item "Add domain"). Then enter your domain name and choose the necessary settings.
Note: If you have a Cyrillic domain, enter it in Cyrillic, not in punycode format.

If necessary, you can configure additional options, such as enabling SSL (specifying an existing certificate or requesting a free Let's Encrypt certificate), connecting analytics tools (awstats or webalizer), and creating additional FTP accounts.
In most cases, you can leave the settings as default.
You can also add subdomains by following similar actions.
Database
- Create a database in the VestaCP panel. To do this, go to the DB section and click the "+" icon (item "Add database"). Fill in the necessary data, including the database name, username, and password. Also, specify the email address to which access credentials for the database will be sent.
After creating the database, you can immediately access phpMyAdmin from the VestaCP panel (button "PHPMYADMIN" above the database list) or use the link sent in the email.
- Log in to phpMyAdmin using the received credentials and upload the database dump to the server.
- Update your website's configuration file to specify the correct database name, database username, and password.
Website Files
Upload your website files to the server. To do this, connect to the server via SFTP, for example, using FileZilla, and copy the files to the /web/your_domain/public_html directory (full path if you're working under the admin user: /home/username/web/domain_name/public_html).
Use the following credentials to connect:
Host: Your server's IP address.
Username: Username in VestaCP.
Password: User password.
Port: 22

