

Installing phpMyAdmin on a LAMP Stack on Ubuntu
To make working with databases on your server easier, you can install phpMyAdmin. This article describes how to install phpMyAdmin on a server running Ubuntu with the LAMP stack already installed.
1. First, run the following command:
sudo apt install phpmyadmin2. During installation, the system will ask you several questions:
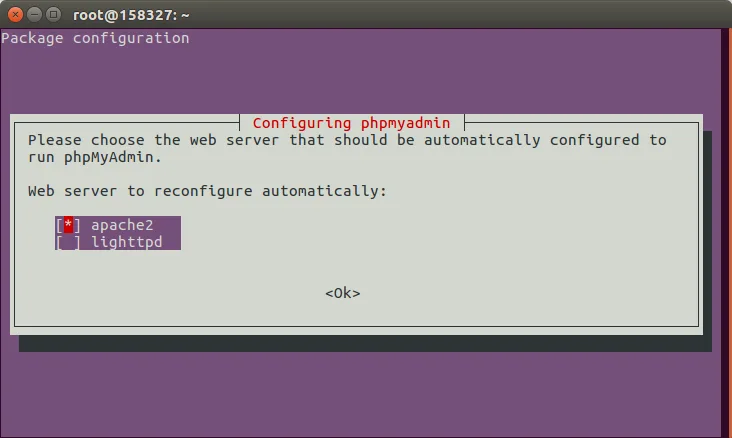
- Press Space to select apache2 (once selected, it will be marked with an asterisk), then press Enter:
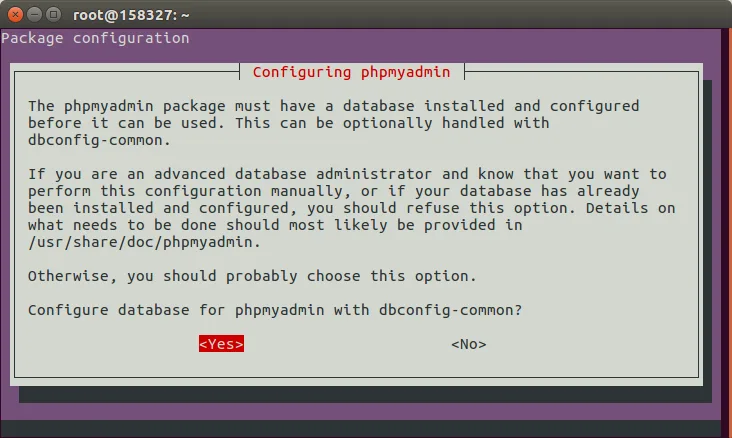
- Press Enter to select Yes:
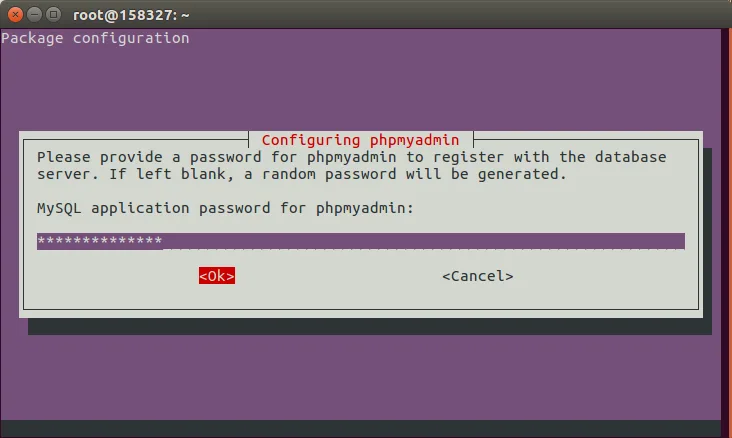
- Set a password that phpMyAdmin will use to access the database server, press Enter, then enter the password again to confirm:
3. Once the installation is complete, enable the PHP mbstring module with the following command:
sudo phpenmod mbstring4. Restart the web server:
sudo systemctl restart apache2To log in to phpMyAdmin, go to http://server-IP-address/phpmyadmin. Log in with the username root and the password of the MySQL root account.
Note: If you installed LAMP automatically and did not set a MySQL root password, you need to set it now.
To do this, open the MySQL console:
mysqlAnd run the following query, replacing "password" with the value you want:
SET PASSWORD FOR 'root'@'localhost' = PASSWORD('password');To exit the MySQL console, type \q.
After that, you can log in to phpMyAdmin at http://server-IP-address/phpmyadmin using the username root and the password you just set.

