Deploying a website on BitrixVM
To create a site, follow these steps in the main Bitrix menu:
- Select 6. Configure pool sites.

- Select 1. Create a site. This will launch the site creation wizard.
- Fill in the necessary fields:
- Enter the site name — Specify the domain name of the created site (for Cyrillic domains, use punycode).
- Enter site type— Choose kernel (site with a database).
- Enter site encoding— In most cases, this will be UTF-8. If unsure, you can check the encoding by opening the site in a browser and viewing the page's source code (for example, in Google Chrome, right-click on the page and select "View Page Source". The encoding will be specified in the <meta charset=encoding> tag).
- Do you want to enable cron for this site— If tasks are configured in Crontab for the site on the server, choose "y"; otherwise, choose "N".
- Do you want to customize them— Choose "y" to set the name and password for the database.
- Enter the document root path— Press Enter to leave the default value.
- Enter database name— Specify the database name.
- Enter username — For convenience, you can use the same name as in the previous step (database name).
- Enter password for database_name— Enter the password for the database user.
- Re-enter password for database_name— Re-enter the password specified in the previous step.
- Press Enter to complete the wizard setup.
After some time, a new site will appear in the list of created sites. You can refresh the list of sites by pressing the Enter key.
Site Deletion
To delete one of the created sites, perform the following actions:
- Select 6. Configure pool sites.
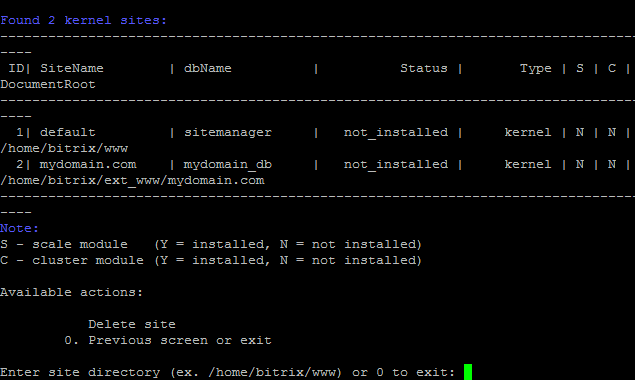
- Select 2. Delete a site.
- Specify the directory of the site to be deleted.
- Press Enter to confirm the deletion.

